About Dreamtime Creations
Frequently Asked Questions
Contact
Rhinestones for Dance
Bridal and Wedding Bling
How To Bling Your Own Horse Tack
Creating Rhinestone Jewelry
Charm Party Bracelets
Cindy's Circle
Newsletter
Price Match Guarantee
Return & Warranty Policy
Affiliate Program
Order Policy
Shipping Policy
Privacy Policy
Wholesale Program
California Prop 65 Warning
Language
Embellishing with Pearls & Crystals
.jpg)
Whether you're creating a project with a handful of crystals or hundreds of them, these techniques and tools will make the process easier and quicker so you'll have more fun doing what you love--adding bling to everything! Learn to apply flatback crystals and pearls to your projects, check out our recommended products, and watch our Dreamtime University videos on applying flatbacks.
Recommended Products


Videos
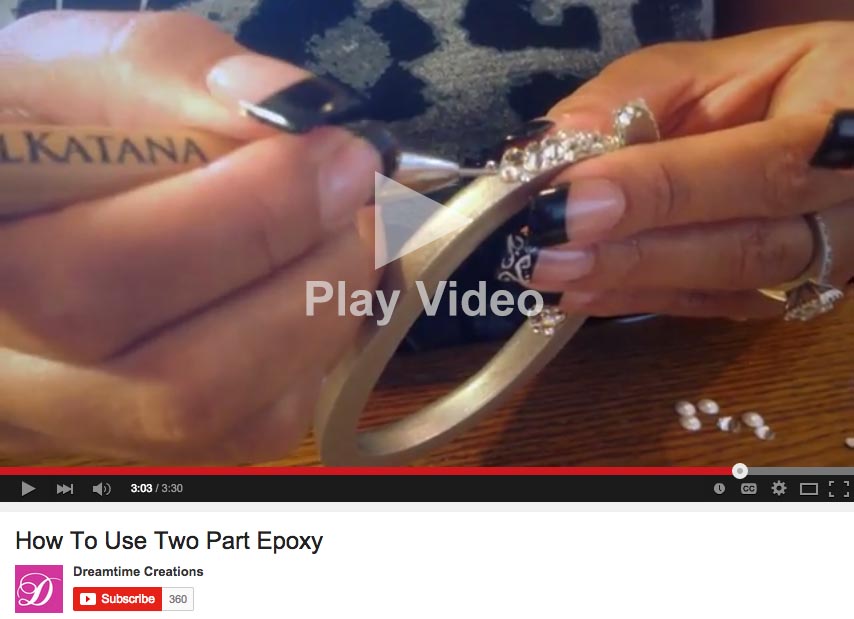
Do you learn better by seeing? Watch our Dreamtime University videos on applying flatback crystals.

Technique
- Prepare the surface you want to apply your rhinestones to. Thoroughly clean and dry the surface to ensure the strongest bond. Rubbing alcohol is good for this, but make sure it won't discolor the surface before you begin. Extremely smooth materials might need to be sanded or scored to create a rough surface for the glue to adhere to.
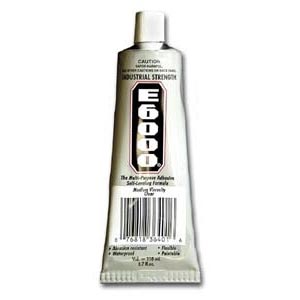
- Choose your adhesive. E-600, Gemtac, and 2-part epoxy are popular choices for applying crystals to hard surfaces and man-made materials.
- Apply your adhesive. Follow the application directions on your adhesive to apply a small amount to a section of your project. You may spread the glue over the surface with a brush or use a syringe to apply small dots of glue where you want to place the stones.
- Place your stones. Pick up each stone and place it into the glue. Press down gently to set the stone in place. The Crystal Katana is a great tool for applying crystals. Use the wax end to pick up and place the crystals and the metal end to push them gently into place.
- Use stones of different sizes to your advantage. Smaller crystals work well for filling the spaces between larger stones. Using several sizes and types of stones gives your piece more texture and variety.
- Clean up adhesive residue. If adhesive is visible on or around your crystals, gently wipe them with a cotton swab dipped in rubbing alcohol to remove excess adhesive and residue.
- Allow plenty of time to dry. Refer to your adhesive's directions for drying times. Some epoxies cure in 5 minutes. Other adhesives can take 24 hours or more to fully dry.
Tips
- Invest in good tools. Especially when you are working on a large project, you want to make the application process as easy as possible. Tools like the Crystal Katana and adhesive syringes can make applying individual crystals much quicker and easier.
- Work in small sections. This is especially important on a large project. It prevents your adhesive from smearing or drying before you apply your crystals.
- Be patient! Using multiple sizes and types of stones takes time, especially for a large project like this one, but the finished project is worth it!
Crystal and pearl violin by Chloe Spilotro of Crystal Couture by Chloe
 US
US Australia
 United Kingdom
 Canada